
Understanding Screen Repair Basics
What is Screen Repair?
Screen repair refers to the process of fixing or replacing the damaged screen of a device, which can include smartphones, tablets, laptops, and other electronic gadgets. The damage might range from cracks and shattered glass to unresponsive touch functionality. Effective screen repair is critical to restoring the device’s usability and maintaining its aesthetic appeal. This process often involves a careful assessment of the screen’s condition and determining whether a repair or replacement is necessary. For more information on screen repair, understanding the underlying issues is crucial to making informed decisions.
Common Types of Screen Damage
Screen damage can manifest in various forms, each requiring distinct approaches for repair. Here are some of the most common types:
- Cracks and Chips: These are the most visible and annoying types of damage, usually caused by drops or impacts. Cracks can often affect the touch functionality, while chips might not.
- Broken LCD: If the screen is displaying black spots, lines, or flickering, it might indicate an internal LCD malfunction. This type of damage typically necessitates complete screen replacement.
- Dead Pixels: Clusters of inactive pixels can lead to noticeable blemishes on the display. Depending on the severity, these can often be repaired but may sometimes require screen replacement.
- Touch Issues: If the screen responds sluggishly to touch or not at all, the digitizer or internal connectors may be damaged, which requires repair or replacement.
Tools Needed for Screen Repair
Successful screen repair requires specific tools to ensure the job is done correctly and safely. Below are some essential tools you should have on hand:
- Precision Screwdriver Set: A variety of small screwdrivers designed for electronics to open the device casing.
- Plastic Pry Tools: These are used to carefully detach screens without damaging the device’s frame.
- Heat Gun or Hair Dryer: Useful for softening adhesive that holds the screen, making it easier to lift.
- ESD Wrist Strap: To prevent static discharge that could damage sensitive components.
- Replacement Screens: The correct screen replacement for the specific model you are repairing.
DIY Screen Repair vs. Professional Services
Benefits of DIY Screen Repair
Taking the DIY route for screen repair has become increasingly popular, especially with the availability of online tutorials and repair kits. The benefits include:
- Cost Savings: DIY repairs can save you significant money compared to the fees charged by professionals.
- Learning Experience: Engaging in DIY repairs can enhance your technical skills and understanding of electronics.
- Convenience: You can repair your device anytime and anywhere, without waiting for professional service availability.
When to Seek Professional Help
While DIY repairs can be appealing, there are situations where professional help is more suitable:
- Complex Damage: In cases of extensive internal damage, such as problems with circuit boards or complex non-visible issues.
- Lack of Tools: If you do not have the necessary tools or are unsure about the repair process.
- Warranty Considerations: If your device is still under warranty, attempting a DIY repair may void it. Professional service ensures warranty protection.
Cost Comparison: DIY vs. Professional
The cost of screen repairs can vary widely based on several factors, including device type and damage extent. A DIY repair typically involves purchasing a repair kit and possibly a replacement screen, which can range between $20 to $150. In contrast, professional services may charge from $50 to upwards of $300, depending on the device and service quality. It’s essential to weigh the cost against the risk of further damage when deciding on DIY versus professional services.
Step-by-Step Guide to Screen Repair
Preparing Your Device
Before commencing the repair process, adequate preparation is crucial. Start by powering down the device and removing any SIM cards or memory cards. Working in a clean, well-lit area can help avoid losing small parts. Assemble your tools and, if necessary, watch tutorials specific to your device model. Preparation also includes gathering all replacement parts to ensure a smooth workflow.
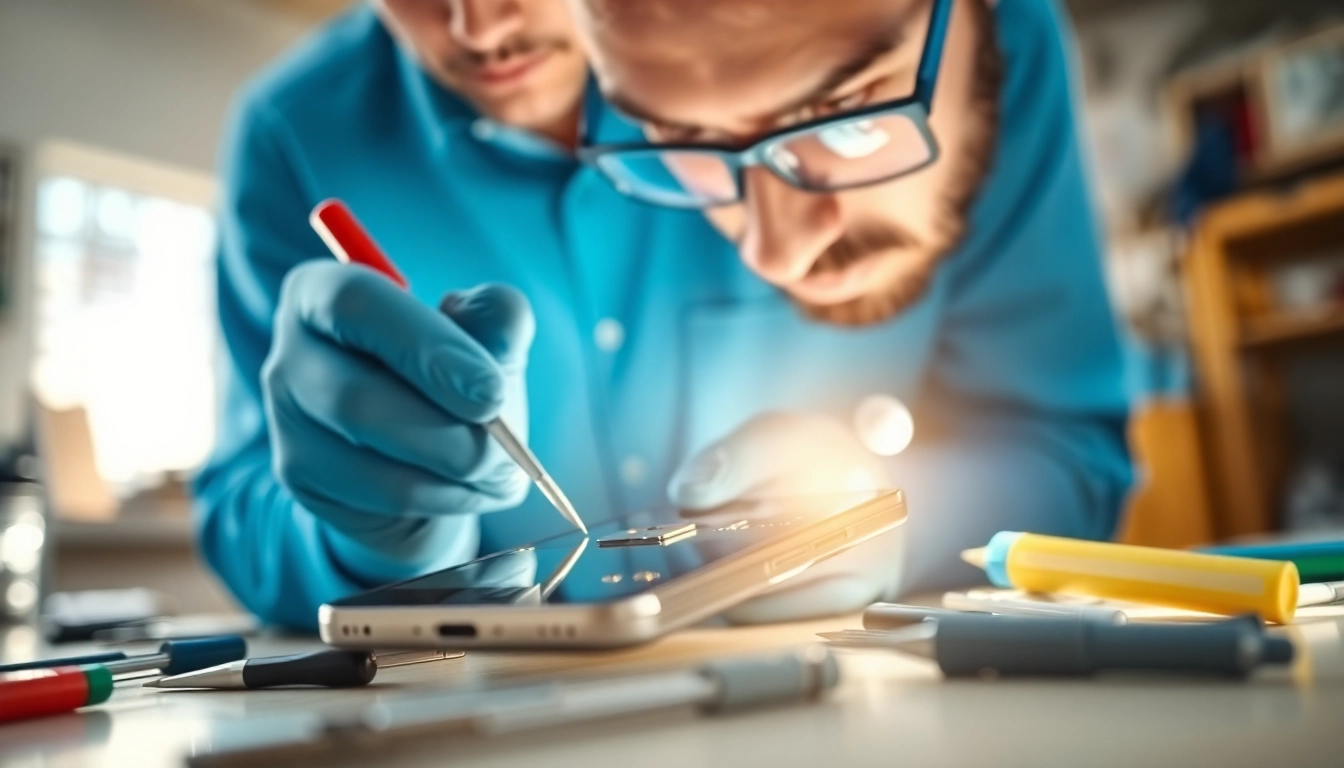
Disassembling the Screen Safely
Disassembling the screen is a delicate process that must be approached methodically. Using a precision screwdriver set, carefully remove the screws securing the device casing. Use plastic pry tools to gently detach the screen by sliding it between the display and the frame. Be patient, as rushing may lead to breaking the components further.
Replacing the Screen: Tips and Techniques
Once the old screen is removed, it’s time to install the new one. Ensure that the replacement screen is compatible with your device model. Begin by connecting any cables that were detached during disassembly, securing them thoroughly. Follow this by placing the new screen onto the device frame, ensuring it sits snugly without any gaps. Reattach the screws and, if applicable, the adhesive. Verify that the screen functions correctly before sealing the device completely.
Post-Repair Care and Maintenance
Inspections After Repair
After completing a screen repair, conducting thorough inspections is vital. Check the responsiveness of the touchscreen, the clarity of the display, and ensure there are no loose connections or gaps. Running a basic functionality test can help uncover issues that need addressing immediately.
Protecting Your Device from Future Damage
To prolong your device’s lifespan after a repair, consider investing in protective accessories like screen protectors, phone cases, or pouches. Being cautious with the device in daily usage, such as avoiding drops or exposure to liquid, can significantly reduce the risk of future damage.
Common Mistakes to Avoid After Repair
After performing repairs, many users unknowingly make mistakes. Here are some common ones to avoid:
- Ignoring Early Signs of Damage: Be vigilant about any new signs of screen damage and address them promptly.
- Skipping Protective Measures: Not using a screen protector or case can leave your screen vulnerable.
- Neglecting Firmware Updates: Keep your device updated, as manufacturers often release bug fixes that enhance performance.
Frequently Asked Questions
What types of screens can be repaired?
Most electronic devices like smartphones, tablets, and laptops with cracked or damaged screens can be repaired, provided replacement screens are available.
How long does a typical screen repair take?
A typical DIY screen repair can take anywhere from 30 minutes to a few hours, while professional services may require a few days, depending on parts availability.
What are the signs that my screen needs repair?
Signs include cracks, unresponsive touch, flickering display, and issues with pixel display. Any form of visible damage or malfunction indicates a need for repair.
Can I repair my screen with household items?
While some minor touchscreen issues can be temporarily addressed with household items, proper repairs typically require specialized tools and components for effectiveness and safety.
How do I prevent future screen damage?
Prevent future damage by using protective cases, applying screen protectors, and handling your device with care to minimize the risk of drops and impacts.